The Art of Subtraction
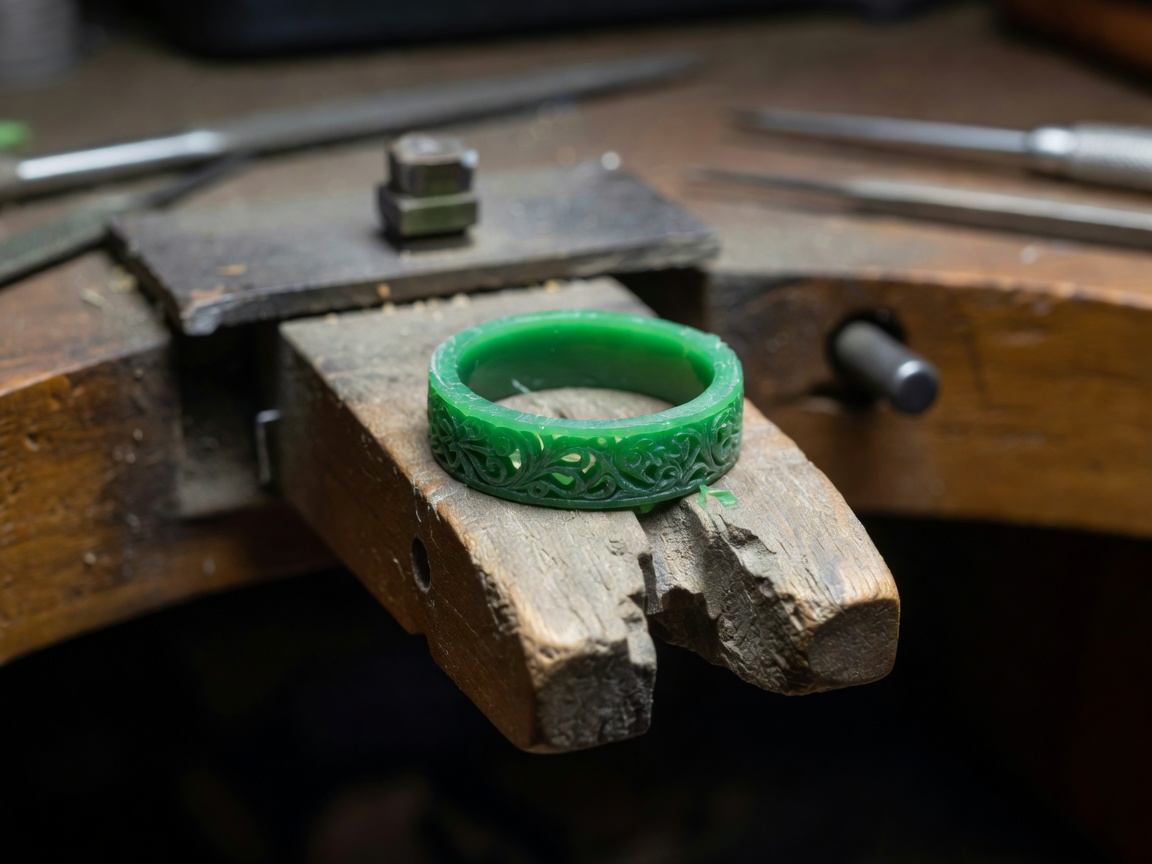
Lost wax casting begins long before any metal is melted. It starts with a solid block or tube of jeweler's wax—typically categorized by hardness. Green wax is rigid and ideal for precise, sharp details and milling, while blue and purple waxes offer more flexibility.
Using files, saw blades, and heated wax pens, the artisan sculpts the model. The workbench during this phase is covered in colorful wax dust. Every imperfection in the wax will perfectly translate to the cast metal, so the finishing of the wax model must be meticulous.
Spruing and Investing
Once the model is complete, a "sprue"—a thick wire of wax—is attached. This acts as the channel through which molten metal will flow. Multiple sprued pieces can be joined to a central wax base, creating a "tree."
- Wax Files: Coarse teeth to remove material quickly without clogging.
- Alcohol Lamp: For gently heating spatulas to melt and mend wax.
- Investment Powder: A specialized plaster that can withstand extreme heat.
- Vacuum Caster: Removes air bubbles from investment and draws metal into the mold.
The Burnout and Pour
The wax tree is placed inside a steel flask, and liquid investment is poured over it. After curing, the flask is placed into a kiln. Over several hours, the temperature is slowly raised to over 1300°F (700°C), incinerating the wax entirely. What remains is a negative cavity inside the hardened plaster.
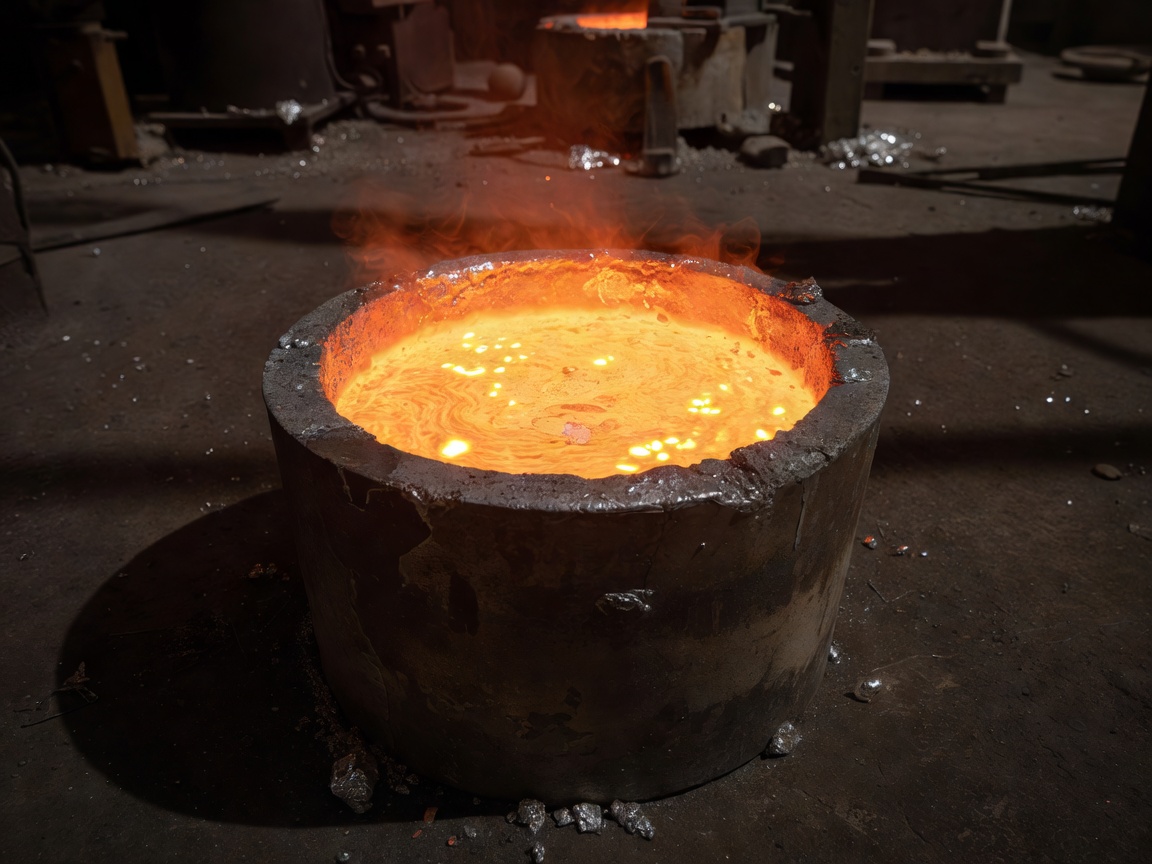
Metal is then melted in a crucible using an oxy-propane torch or an electro-melt furnace. Once the alloy reaches its liquidus point—glowing with a blinding, fluid brilliance—it is rapidly transferred into the flask using a vacuum or centrifugal casting machine. The sudden force drives the heavy liquid into every microscopic crevice left by the wax.